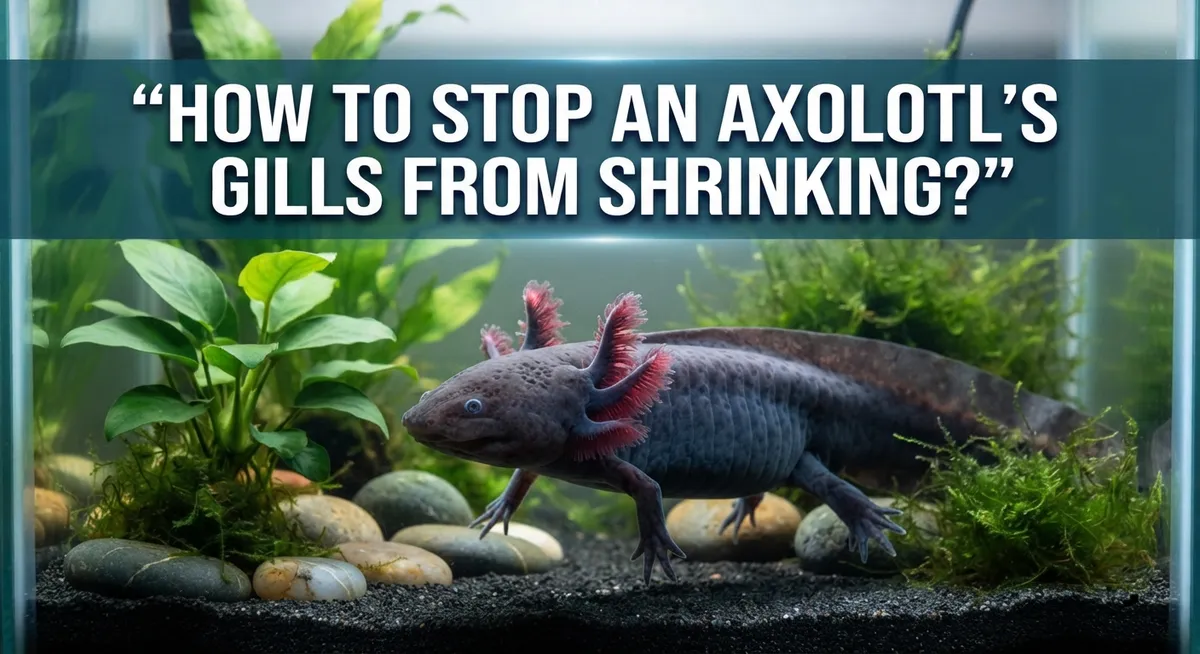
How To Stop An Axolotl’s Gills From Shrinking?
Have you noticed your axolotl’s gills looking smaller or less fluffy than usual? This can worry any pet owner. Gills are a big part of what makes axolotls so charming.
Shrinking gills often signal a problem in the tank. Poor water quality is usually the main culprit. Ammonia, nitrite, and nitrate spikes stress your axolotl’s body fast.
Other factors matter too. Temperature swings, salt use, and certain medications can also affect gill health. Your axolotl depends on stable conditions to thrive.
In a Nutshell
- Test your water immediately if you notice smaller or less fluffy gills. This tells you what is wrong before you try anything else.
- Change 25 to 50 percent of the water right away if levels look off. Always use clean, dechlorinated water.
- Keep temperatures stable. Sudden swings stress your axolotl and affect gill health.
- Stop any strong medications or salt treatments. These can cause gills to shrink if overused.
- Repeat daily 25 percent water changes during recovery. This helps flush out toxins fast.
- Stick to a routine schedule once your axolotl recovers. Aim for 30 percent water changes every two weeks, and more often in smaller tanks.
Why Axolotl Gills Shrink: Understanding the Root Causes
Your axolotl’s gills shrink for specific reasons. Understanding these causes helps you fix the problem fast.
Poor water quality is the main culprit. Ammonia, nitrite, and nitrate build up in the tank over time. High levels damage gill tissue and cause them to shrink. pH swings also stress your axolotl. When water becomes too acidic or alkaline, gills respond by getting smaller.
Your axolotl produces waste constantly. This waste creates a high bioload in small tanks. The more waste accumulates, the faster water quality drops. Tanks that are too small or rarely cleaned develop problems quickly.
Medication and salt treatments can shrink gills if overused. Some owners add these to help with infections or stress. However, too much salt or strong medications irritate gill tissue. Your axolotl’s gills may shrink as a reaction to the treatment itself.
Temperature swings harm gill health too. Axolotls need stable, cool water between 60 and 64 degrees Fahrenheit. When temperatures jump around, your axolotl gets stressed. Stressed axolotls show gill shrinkage within days.
Neglecting water testing is a common mistake. Many owners assume the tank looks clean and skip testing. Invisible chemicals still damage gills even when the water looks clear. Testing reveals problems before you see physical signs.
The good news? Most shrinking gills reverse quickly with proper care. Your axolotl’s gills can regrow and fluff back up once you fix the root cause. Start by testing water parameters today. This single step tells you exactly what’s wrong. From there, you can take targeted action to restore gill health and keep your axolotl thriving for years ahead.
How to Test and Read Your Water Parameters Correctly
Testing your water is the first step to fixing shrinking gills. You need to check four main parameters: ammonia, nitrite, nitrate, and pH. Each one tells you something different about your tank’s health.
Ammonia should always read zero. Any ammonia present means waste is building up faster than your filter can handle. Your axolotl produces ammonia through waste and urine constantly. Even small amounts stress their gills and cause them to shrink.
Nitrite should also be zero in an established tank. Nitrite forms when beneficial bacteria break down ammonia. If nitrite is present, your filter isn’t working properly or the tank isn’t fully cycled yet. This toxic compound damages gill tissue directly.
Nitrate is the final waste product. Levels should stay below 40 ppm, though lower is better. High nitrate means you need more frequent water changes. Nitrate builds up no matter how good your filter is.
pH should stay between 6.5 and 8.0 for axolotls. Sudden pH swings stress your pet more than a consistently “wrong” pH. Test your water at the same time each day for accurate readings.
How to test correctly: Use a liquid test kit rather than strips. Strips are less accurate and can mislead you. Follow the kit instructions exactly. Mix the samples well and read results in good lighting. Write down your numbers to track changes over time.
Test your water every few days while treating shrinking gills. Once your axolotl recovers, test weekly for the first month, then every two weeks. Consistent testing catches problems early before they damage your axolotl’s gills again.
Step-by-Step: Emergency Water Change Protocol to Restore Gill Health
Start your emergency water change by gathering clean supplies first. You need dechlorinated water at the correct temperature. Never use tap water straight from the faucet, as chlorine harms your axolotl’s delicate gills even more.
Check your current water temperature before starting. Your axolotl needs stability above all else. Prepare replacement water to match this temperature exactly. A difference of even 2 to 3 degrees can stress your pet during recovery.
Remove 25 to 50 percent of the tank water using a siphon or cup. Work slowly and carefully to avoid startling your axolotl. Sudden movements can increase stress and worsen gill shrinking. Let your axolotl stay calm in the tank while you work.
Pour the clean, dechlorinated water back in gradually. Add it slowly over several minutes rather than dumping it all at once. This prevents temperature shock and gives your axolotl time to adjust. Aim for the same temperature you measured earlier.
After the water change, wait 24 hours before testing again. Your tank needs time to stabilize. Check ammonia, nitrite, and nitrate levels to confirm improvement. If levels remain high, repeat the 25 percent water change the next day.
Continue daily water changes for 3 to 5 days during the recovery phase. This removes excess waste faster than your filter can handle alone. Each day, your axolotl’s gills should look slightly fuller and healthier.
Monitor your axolotl closely after each change. Look for increased appetite and more active behavior. Gills should gradually become fluffier and return to their normal appearance. If shrinking continues after 5 days of proper water changes, contact an aquatic veterinarian for additional guidance.
Stabilizing Temperature and Removing Harmful Additives
Temperature stability is critical for axolotl gill health. These animals thrive in cool water between 60 and 64 degrees Fahrenheit. When temperature fluctuates, their gills shrink as a stress response.
Check your tank temperature twice daily using a reliable thermometer. Place it in a neutral spot away from heaters or direct sunlight. Temperature swings of just a few degrees can trigger gill problems.
If your room gets warm, your axolotl suffers. Move the tank away from windows, radiators, and heat sources. Consider a room with consistent temperatures. Many owners find basements or cooler bedrooms work best for axolotl tanks.
During recovery, maintain the exact same temperature every single day. This consistency helps gills regrow faster than anything else. Your axolotl’s body stops fighting temperature stress and focuses on healing.
Now address harmful additives in your water. Medications and salt treatments cause gill shrinking when overused. Stop adding salt immediately if you’ve been treating your axolotl. Salt damages delicate gill tissue over time.
Discontinue any medications unless a veterinarian specifically prescribes them for a diagnosed illness. Many owners add treatments without testing water first. This mistake compounds gill problems instead of solving them.
Use only dechlorinated water for all water changes. Chlorine burns gill tissue and worsens shrinking. Let tap water sit for 24 hours before adding it to the tank, or use a dechlorination product.
Focus on these two factors together. Stable temperature plus clean, additive free water creates the ideal recovery environment. Your axolotl’s gills respond quickly once you remove these stressors.
Continue monitoring daily. Gills should begin plumping within 3 to 5 days of stable conditions. If shrinking persists after a week, return to water testing. Something else may be hiding in your parameters.
Setting Up a Long-Term Water Maintenance Schedule
A long-term water maintenance schedule prevents gill shrinking before it starts. Consistency matters more than perfection. Your axolotl thrives when you follow a predictable routine.
Start with a baseline schedule of 25 to 30 percent water changes every two weeks. This removes waste buildup and keeps ammonia, nitrite, and nitrate at safe levels. Mark these dates on your calendar or phone so you never forget.
Smaller tanks need more frequent changes. If your tank holds less than 20 gallons, perform 30 percent changes every 10 days instead. The smaller the volume, the faster waste accumulates. Your axolotl’s gills stay healthy when you adjust your schedule to match your tank size.
Create a written checklist for each maintenance day. Include testing water parameters, performing the water change, and checking temperature. Write down your results each time. This record helps you spot patterns if problems develop.
Keep supplies ready and accessible. Store dechlorinated water in a clean container. Keep your siphon, thermometer, and test kit in one spot. When everything is organized, you complete maintenance faster and more thoroughly.
During cooler months, you might skip a week occasionally. During warm months, increase changes to every 10 days. Temperature affects how quickly waste builds up, so adjust your schedule based on your environment.
If your axolotl shows any sign of gill shrinking, switch to 25 percent daily changes until recovery is complete. Then return to your regular schedule. This prevents the problem from returning.
Track your maintenance in a simple notebook. Write the date, water parameters, temperature, and any observations about your axolotl’s behavior. Over time, you’ll understand exactly what your specific tank needs. This personalized approach keeps your axolotl’s gills full and healthy for years.
Common Mistakes That Delay Gill Recovery
Many axolotl owners make critical mistakes that prevent their pet’s gills from recovering. Understanding these errors helps you avoid them and speed up healing.
Skipping water quality tests is the biggest mistake. Many people assume their tank is fine without actually measuring ammonia, nitrite, nitrate, and pH levels. You must test your water before making any changes. Poor water parameters are the primary cause of gill shrinking, so guessing wastes precious recovery time.
Using chlorinated tap water directly in the tank causes serious problems. Chlorine damages delicate gill tissue and stresses your axolotl further. Always let tap water sit for 24 hours before adding it, or use a dechlorination product. This single step makes a huge difference in recovery speed.
Temperature inconsistency delays healing significantly. Your axolotl’s body cannot focus on gill repair if temperatures fluctuate daily. Check your thermometer twice per day and keep conditions stable. Even a 2 degree swing can slow recovery progress.
Continuing medications or salt treatments while gills are shrinking is another common error. These additives stress your axolotl’s system and prevent natural recovery. Stop all non essential treatments immediately unless a veterinarian prescribes them for a specific diagnosed illness.
Some owners perform water changes too infrequently during recovery. One large water change is less effective than several smaller daily changes. Perform 25 percent water changes for 3 to 5 consecutive days during the recovery phase.
Finally, many people wait too long before acting. Gill shrinking worsens quickly if left untreated. Start water changes and testing immediately when you notice the problem. Early intervention prevents permanent gill damage and gives your axolotl the best chance at full recovery.
Troubleshooting: What To Do If Gills Don’t Improve
When your axolotl’s gills don’t improve after initial treatment, you need to dig deeper into what’s causing the problem. The first step is to retest your water parameters immediately. Many owners assume their fixes worked, but ammonia, nitrite, or nitrate levels might still be dangerously high.
If tests show poor water quality, increase your water change frequency right away. Switch from your standard schedule to daily 25 percent changes for at least one week. Use only dechlorinated water each time, and match the temperature exactly to your tank’s current conditions.
Check whether you’re still using any medications or salt treatments. These additives can prevent gill recovery if continued too long. Ask yourself: did a veterinarian prescribe this medication, or are you treating based on guesswork? If there’s no professional diagnosis, stop the treatment immediately.
Temperature swings are another hidden culprit. Verify your thermometer is accurate by testing it in water you know the temperature of. If your room temperature fluctuates more than 2 degrees daily, your axolotl cannot heal properly. Consider placing your tank away from windows, heaters, and air conditioning vents.
Watch your axolotl’s behavior closely during this recovery phase. Healthy axolotls swim actively and eat normally. If your pet stays at the tank bottom or refuses food after one week of corrected conditions, something else is wrong.
Keep detailed notes of everything you change. Write down test results, water change dates, temperature readings, and any behavioral changes. This record helps you spot patterns and makes it easier to explain the situation to a veterinarian if problems continue.
If gills remain shrunken after two weeks of perfect water conditions and stable temperature, consult a vet who specializes in aquatic animals. Some gill damage requires professional evaluation.
Final Thoughts
Your axolotl’s gills tell you a lot about its health. Shrinking gills mean something in the tank needs your attention right away.
Water quality stays the top priority. Test your water often. Do not wait for problems to appear before you check ammonia, nitrite, and nitrate levels.
Small changes make a big difference. A consistent water change routine keeps your axolotl’s environment stable and safe.
Temperature control matters just as much as clean water. Sudden shifts stress your axolotl’s body and slow down gill recovery.
Recovery takes patience. Some axolotls bounce back within days. Others need several weeks of careful care before their gills look normal again.
Do not rush the process. Adding extra treatments or chemicals when you feel worried can actually make things worse.
Stick to the basics. Clean water, stable temperature, and time are your best tools for helping gills heal.
Keep a simple log of your tank conditions. This habit helps you spot patterns and catch problems before they become serious.
Trust your observations. You know your axolotl better than anyone else. If something feels off, check the water first.
Most gill shrinking cases improve once water quality gets fixed. This simple fact should give you confidence during the recovery process.
Prevention beats treatment every time. A regular maintenance schedule keeps your axolotl healthy and helps you avoid gill problems altogether.
Your axolotl depends on you for a stable home. Small efforts today prevent bigger headaches tomorrow.
Stay consistent with your care routine. Test water regularly, change it on schedule, and watch your axolotl’s gills stay full and healthy.
If problems persist despite your best efforts, do not hesitate to reach out to an experienced exotic vet. Professional guidance can make all the difference for your pet’s long term health.
Frequently Asked Questions
Why are my axolotl’s gills getting smaller?
Shrinking gills usually signal poor water quality. Ammonia, nitrite, and nitrate build up in the tank and stress your axolotl’s body. High bioload from waste causes these levels to spike quickly.
Temperature swings also trigger gill shrinkage. Your axolotl needs stable conditions to stay healthy. Medications or salt treatments, if used too long, can damage gills as well.
How do I know if water quality is the problem?
Test your water parameters right away. You need to check ammonia, nitrite, nitrate, and pH levels.
If any reading is high, water quality is your culprit. This is the first thing to investigate before trying anything else.
What’s the fastest way to help my axolotl recover?
Perform a 25 to 50 percent water change immediately using clean, dechlorinated water. Repeat 25 percent changes daily for several days if levels stay high.
Keep the temperature steady between 60 and 64 degrees Fahrenheit. Stop any medications or salt treatments you’ve been using. These steps give your axolotl the best chance to heal.
How often should I change the water to prevent this?
Standard care requires a 30 percent water change every two weeks. Smaller tanks need changes more frequently, sometimes weekly.
During recovery from gill shrinkage, increase to daily 25 percent changes until gills return to normal size. Once your axolotl improves, return to your regular schedule.
What if my axolotl’s gills don’t improve?
Gills typically bounce back within one to two weeks of perfect water conditions and stable temperature. If they don’t improve, consult an exotic animal veterinarian.
Keep detailed notes of water test results, temperature readings, and changes you’ve made. This information helps a vet diagnose the real issue.

Hi, I’m Liza — pet lover, lifelong animal enthusiast, and the voice behind Liza4Pets. I created this space to share honest, practical pet care advice for fellow pet parents who want the best for their furry (and not-so-furry) companions.